How to use AudioSuite plugins in Pro Tools
Quick answer: To learn how to use audiosuite plugins in pro tools, select the clip, open the AudioSuite menu, choose a processor, preview it, and render it into the clip. The effect is written into the audio file, so it stays even if the plugin is later removed. Work on a copy or a duplicate playlist first, so you can return to the original.
Learning how to use audiosuite plugins in pro tools is one of the most useful skills for anyone who edits, cleans, or prepares audio inside a session. AudioSuite processing is not the same as adding a plugin to a track insert. An insert works in real time: the audio passes through the plugin every time you press play, and you can change the settings at any point. AudioSuite processing, by contrast, renders the effect into the selected clip, so the new sound becomes part of that clip.
This approach suits many everyday jobs, from a voice recording that needs a small cut in a harsh frequency to a sound effect that needs a pitch change. Rendering can simplify the session, reduce the number of live plugins, and make the result easy to hand to someone else.
What are AudioSuite plugins in Pro Tools?
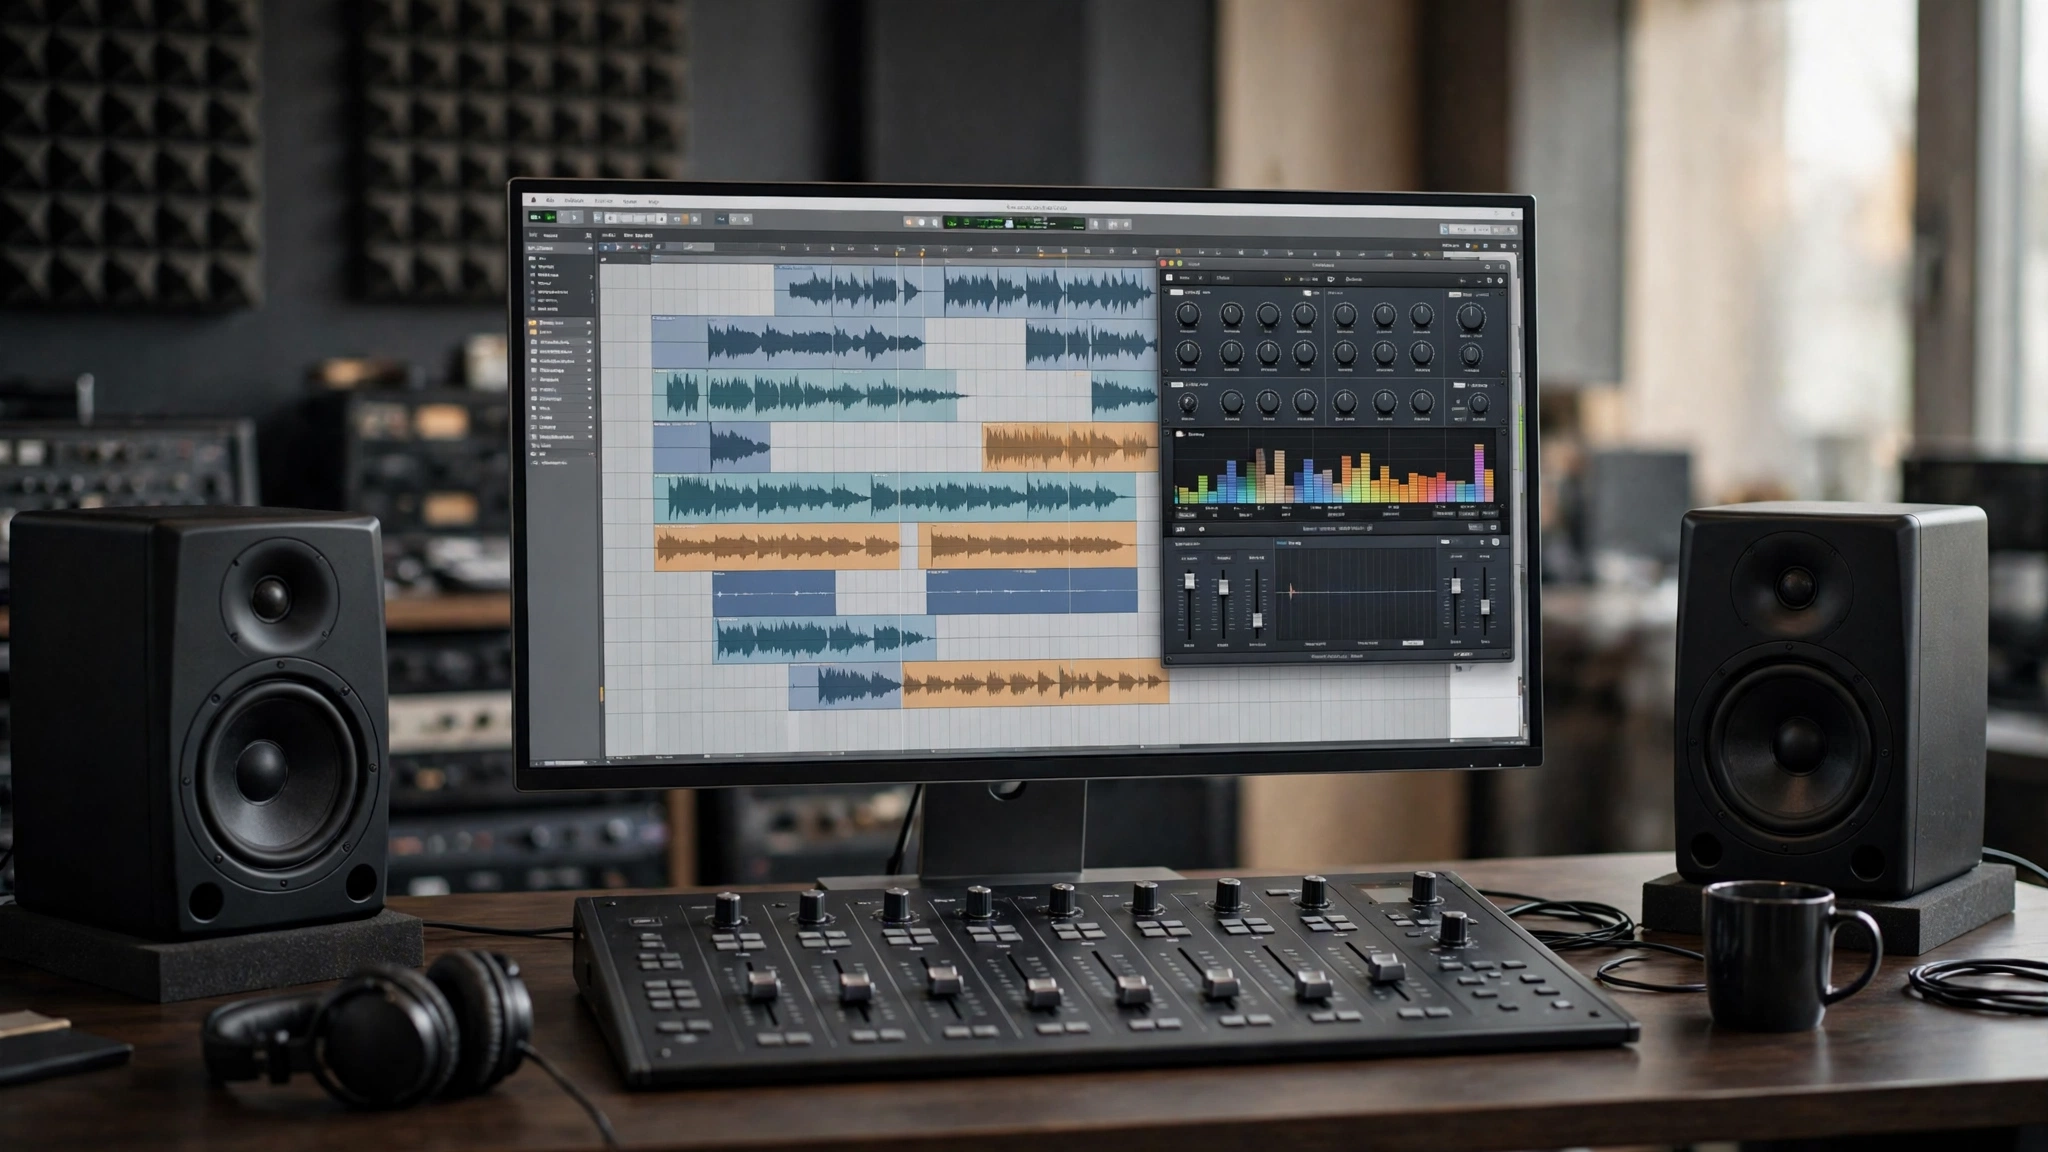
AudioSuite is the name Pro Tools gives to its offline processing system. When you choose a processor from the AudioSuite menu, Pro Tools opens a plugin window linked to the clip or clips you have selected. You adjust the controls, listen to a preview, and then render the result. Rendering creates a new version of the selected audio with the processing applied, and the clip on the timeline is updated to it.
The key idea is that the processing is written into the audio rather than applied on the fly. If you render a high-pass filter onto a voice clip, the low frequencies are removed from that clip itself, and the filtered sound remains even if you move the clip or open the session without that plugin installed. For a broader grounding in the ideas behind this work, the Sound Engineering Fundamentals course covers level, frequency, dynamics, and signal flow.
How do AudioSuite plugins differ from real-time inserts?
The difference between AudioSuite processing and a real-time insert is the difference between writing a change into a recording and placing a processor in the signal path. A real-time insert stays live: you can open it at any time, change a setting, bypass it, automate it, or remove it, and the original audio underneath is unchanged. That flexibility makes inserts the natural choice for mixing, where settings often change as other tracks are added.
AudioSuite processing is committed: once rendered, the change is part of the clip, and changing it means rendering again, usually from the original audio. That makes it a good choice for preparation and correction, such as removing a problem, setting a consistent level, or committing an effect to one clip.
| Feature | AudioSuite | Real-time insert |
|---|---|---|
| Timing | Rendered into the clip | Live on every play |
| Original audio | Replaced, unless you keep a copy | Unchanged under the plugin |
| Later changes | Render again from the original | Change the controls any time |
| Scope | Selected clips only | Whole track |
| Without the plugin | Processed sound remains | Plugin must be installed |
| Best for | Correction and preparation | Mixing and balancing |
How do you open and apply an AudioSuite plugin?
The workflow for learning how to use audiosuite plugins in pro tools follows the same pattern every time: select, open, preview, render, and check. Start by selecting the audio you want to process, by clicking the clip or dragging across part of it to select a range. If you select part of a clip, Pro Tools will usually separate that range so the processing applies only to the selected portion.
Next, open the AudioSuite menu and choose the processor you need. The menu is organised by category, such as equalisation, dynamics, pitch, or noise reduction, so you can browse by the kind of job rather than by a brand name.
Set the controls while listening to a preview, which plays the selected audio through the current settings without rendering it. Listen to the start and the end of the selection, not only the middle, because problems often appear at the boundaries. When you are satisfied, render the processing, then listen to the result in the session and check the start and end of the clip for clicks, cut-offs, or level jumps. If the result is wrong, undo the render or restore the copy you saved, and do not render again on top of an already rendered clip unless you mean to.
How should you set up a clip before rendering?
Good preparation makes offline rendering far more reliable, and it starts with keeping the original. Because rendering replaces the selected audio, duplicate the clip, duplicate the playlist, or keep a copy of the track muted and hidden before you render. That gives you a clear route back if the processing turns out to be wrong, or if a later mix decision needs the unprocessed sound.
Remove or fix obvious problems that processing would make worse, such as a click at the start or a breath that should be edited out. If you are processing only part of a clip, make the selection at a natural pause where possible, so the start and end of the processed section do not produce a click.
Also, set a sensible level before you render, because AudioSuite processors respond to the level of the audio you feed them, just as inserts do. If the clip is much louder or quieter than the rest of the session, adjust its clip gain first so the processor works on a representative level. Finally, note what you did with a short session note or a clear clip name, a habit that also supports the handover discipline described in the freelance audio engineer’s guide to writing off travel and studio visits.
Which AudioSuite processes work best for common tasks?
Gain and normalisation are among the simplest and most useful AudioSuite processes. Gain changes the level of a clip by a fixed amount, which helps when one phrase is quieter than the rest. Normalisation raises the level so the loudest peak reaches a chosen value, but it also raises quiet sections and noise, so use it with care.
Equalisation is useful for removing a specific problem from a clip, such as low-frequency rumble, a harsh resonance, or a muddy build-up. A high-pass filter can remove rumble from a voice recording, and a narrow cut can reduce a ringing frequency in a single drum hit, without affecting other clips on the track. Dynamics processing can even out a clip that varies too much in level, but use gentle settings first, because heavy compression baked into a clip is difficult to undo.
Noise reduction tools are often used in AudioSuite form because they work best on a specific section: let the tool learn the noise from a quiet passage, then preview carefully, since too much reduction can sound worse than the original noise. If you are building a toolkit, the guide to 5 essential audio processing tools covers the processors useful across voice, music, and content work, and tips to give your mix the NUGEN Stereoizer treatment covers stereo width.
How do you avoid common mistakes when rendering offline?
Most problems with AudioSuite processing come from a small number of avoidable mistakes, and the most common is rendering without a copy of the original. Once a clip has been rendered, the unprocessed version is not always easy to recover, especially if several renders have been applied in sequence.
The third mistake is over-processing: a modest change that solves the problem is better than a dramatic change that creates a new one. A small equaliser cut, a gentle compressor setting, or a light noise reduction will usually sound more natural than an aggressive version of the same process. The fourth mistake is not checking the boundaries, so always listen to the transitions: the last second before the clip, the first and last seconds of it, and the first second after it.
The fifth mistake is rendering on top of a previous render without realising it, which can compound small errors. Finally, use clear clip names and duplicate playlists so rendered files stay easy to find, and remember that a collaborator without the plugin can still hear a rendered clip as intended. That clarity is part of what makes a session feel professional, and it is closely linked to the wider question of how audio gear can actually help your business.
When should you use AudioSuite instead of a real-time insert?
Use AudioSuite when the change is a correction or a preparation step, such as removing rumble, reducing noise in one phrase, or setting a consistent gain. Use it when the change applies to one clip only, or when the session needs to be shared without the plugin, since a rendered clip will still sound as intended where a live insert would be missing. In practice, most sessions use both, and as workflows change, including the assisted tools described in how AI is changing audio editing in 2026, the same principle holds: commit decisions you have made, and keep open decisions live.
FAQs
How do I use AudioSuite plugins in Pro Tools for the first time?
Select a clip, open the AudioSuite menu, choose a processor, and preview the settings before you render. Start with a simple process, such as gain or a high-pass filter, on a copy of a clip.
Is AudioSuite processing destructive?
AudioSuite processing is often described as offline or destructive rendering because the effect is written into the audio file, unlike a real-time insert.
Can I undo an AudioSuite render?
You can undo a render immediately after applying it, in the same way as other edits.
Do I need the plugin installed to hear rendered AudioSuite audio?
No. Once the processing has been rendered into the clip, the processed sound is part of the audio file itself, so it plays as processed anywhere.
Should I use AudioSuite or a real-time insert for EQ on a vocal?
Use AudioSuite for a fixed correction on one clip, such as removing rumble or cutting a harsh frequency from a single phrase.
Why does my rendered clip sound different from the preview?
A preview may be heard in isolation, while the rendered clip is heard in the full session, where level, panning, and other tracks can change how it sounds.
Conclusion
Learning how to use audiosuite plugins in pro tools comes down to a simple, repeatable workflow: select the right clip, choose the right processor, preview carefully, render, and check the result in context. The power of AudioSuite processing is that it writes a decision into the audio itself, which makes it ideal for correction, preparation, and committed clip-level edits. Use AudioSuite where a decision has been made and a clip needs a fixed change, and keep live inserts where a setting is still open, where automation is needed, or where the same treatment should apply to a whole track.