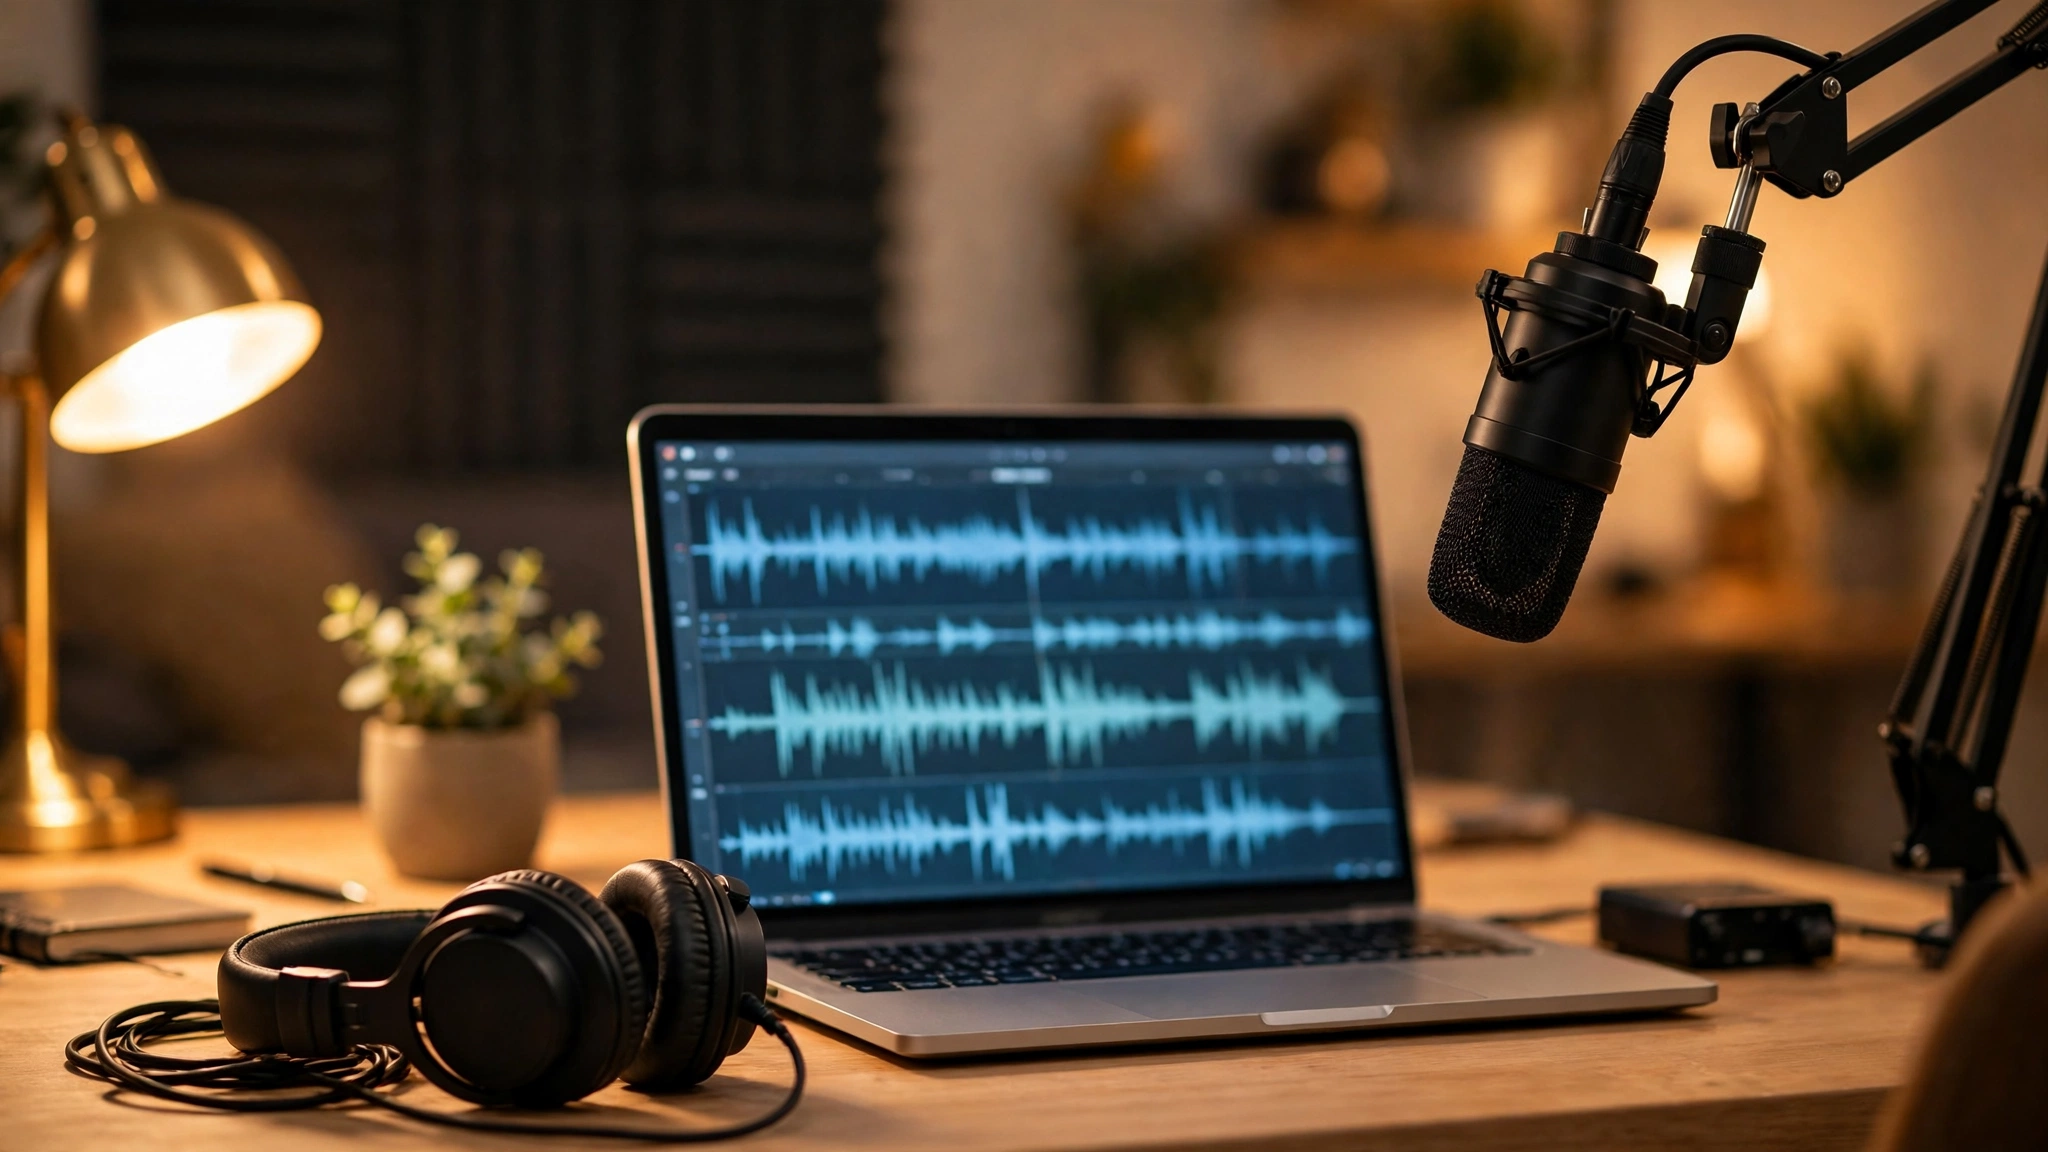
Podcast editing for beginners: a step-by-step guide
Quick answer: Podcast editing for beginners is the process of trimming mistakes, removing unwanted noise, balancing volume, and arranging music and speech into a clean finished episode. Start with a simple workflow — organise your files, cut the obvious errors, clean up pauses and background sound, level the voices, add an intro and outro, then export in a standard format. You do not need advanced software or years of experience to produce a clear, listenable show.
Podcast editing for beginners can feel intimidating the first time you open an audio editor and see a long waveform. The good news is that most improvement comes from a small number of straightforward steps, repeated in the same order for every episode. This guide walks through that workflow for a solo show, an interview, or a conversation between two hosts. If you are still planning your show, read our guide to starting a podcast first, because good recording habits make editing far easier.
What is podcast editing, and what does it involve?
Podcast editing turns a raw recording into a finished episode that is pleasant to listen to from start to finish. It is about removing distractions so the listener can focus on the content: cutting mistakes and long silences, reducing background noise, keeping voices at a consistent volume, and placing music and introductions in the right places.
Think of editing in three passes. The first is structural: remove false starts, repeated questions, long tangents, and sections where the conversation lost its thread. The second is technical: clean up noise, fix volume differences, and smooth the transitions between cuts. The third is polish: add the intro, outro, music, and any short segments. Working in that order prevents a common beginner problem — polishing a section that later gets cut. Keep the pacing natural: a small pause before an important point can help the meaning land.
What software and equipment do you need to start editing?
You need far less than most beginners expect: a computer, a pair of closed-back headphones, and a free or low-cost audio editor. Widely known editors such as Audacity and GarageBand are common starting points because they cover the core tasks — cutting, fading, noise reduction, and exporting — without a subscription. More advanced editors add multitrack features and batch processing, but those are not required for a first show.
Headphones matter more than many beginners realise. Laptop speakers hide low-level hum, room echo, and small clicks that become obvious through earphones. Set up a simple folder system before you start: one folder per episode containing the raw recordings, a working project file, music files, and the finished export. If terms such as gain, equalisation, and compression feel unfamiliar, our sound engineering fundamentals material covers the foundations.
How do you prepare your recordings before you start cutting?
Preparation is the step beginners most often skip, and it saves the most time later. Start by listening to the whole recording once without editing anything. Note the timestamps where something needs attention: a question asked twice, a long pause while someone looked up a fact, a phone notification, or a section that wandered off topic. These notes become your edit map, and they stop you from re-listening to the same section several times while deciding what to do.
Next, check that all audio files are in sync if you recorded on separate tracks. In a remote interview, each speaker may have recorded locally, which gives better quality than a single call recording but requires the tracks to be aligned at the start. Use a clear spoken cue such as “three, two, one, start” as a reference point. Save a copy of the raw recordings before you edit. If you record in a browser-based tool, read our guide to testing recording permissions and latency first.
How do you cut mistakes, pauses, and filler words?
Cutting is the core of podcast editing for beginners, and the rule is simple: cut what distracts, keep what communicates. Start with the obvious problems from your edit map. Remove false starts where a host began a sentence, stopped, and started again. Remove repeated questions and answers, and long silences where nothing is happening, such as a ten-second gap while a guest finds a document. These cuts often remove several minutes from a raw recording without losing any content.
Filler words such as “um”, “uh”, and “you know” need a lighter touch. Removing every one makes speech sound robotic. Remove fillers only when they cluster together, break the flow of a sentence, or mark a false start. Leave isolated fillers and normal breathing in place. When you make a cut, listen to the few seconds before and after it. A good cut should be hard to notice. If you hear a click or a word that starts too abruptly, try a short crossfade or a different cut point.
How do you remove background noise and improve clarity?
Background noise is one of the biggest differences between an amateur-sounding podcast and a clear one. Common sources include computer fans, air conditioning, traffic, a humming refrigerator, and handling noise from touching the microphone or desk. The best fix is always at the recording stage — a quieter room and a microphone positioned correctly — but editing can reduce what remains.
Start by listening to a section where nobody is speaking, to hear the room tone. If the noise is a steady hum or hiss, a noise-reduction effect can help: you select a short sample of the noise alone, the editor learns its profile, and then it reduces that sound across the track. Use this conservatively — an aggressive setting can make voices sound thin, metallic, or underwater. For isolated noises, such as a cough or a notification ping, cut or mute that short section rather than applying a heavy effect to the whole track. Our overview of essential audio processing tools explains the main tools in plain language.
How do you level voices so everyone sounds the same volume?
Uneven volume is tiring for listeners. If one host is loud and the guest is quiet, the listener has to keep adjusting the volume, and many will simply stop listening. Levelling brings all voices into a similar range. It involves two ideas: gain, the overall volume of a track, and compression, which reduces the difference between the loudest and quietest moments within a track.
Start by adjusting the overall gain of each track so the speakers sound roughly equal, listening to a section where each person speaks. Do not rely only on the waveform display — a waveform can look similar while the perceived loudness differs. Next, consider light compression on each voice track: a compressor gently turns down the loudest peaks and, with a small amount of makeup gain, brings quieter words up. Leave a small amount of headroom, space below the maximum level, so a loud laugh does not distort.
How do you add music, intros, and outros without overdoing it?
Music gives a podcast its identity, but it should support the voices, not compete with them. A typical episode needs only three musical elements: an intro, an outro, and optionally a short transition sting between segments. Keep the intro short — fifteen to thirty seconds is enough for most shows — and make sure the host starts speaking before the listener loses patience. The outro can be slightly longer, since it plays while the host gives closing remarks and credits.
When music plays under speech, lower its volume significantly. A common beginner mistake is to leave the music bed at the same level as the voice, which forces the listener to strain to hear the words. The music should be clearly audible during the intro, then drop to a low level under the voice, then rise again at the end. Use fades of one or two seconds to move between those levels smoothly. Choose music you have the right to use — royalty-free libraries and tracks licensed for podcasters are the usual options.
What does a complete beginner editing workflow look like?
A repeatable workflow turns editing from a vague, open-ended task into a checklist you can finish. Keep the same broad sequence: structure first, then cleanup, then levelling, then polish, then export and check.
| Step | What to do | What to check before moving on |
|---|---|---|
| 1. Organise | Create the episode folder, back up raw files, note the structure | All recordings present and in sync |
| 2. Listen and mark | Listen through once, note timestamps for cuts | Edit map covers mistakes, repeats, and long pauses |
| 3. Structural cut | Remove false starts, repeats, tangents, and dead air | Episode flows logically without missing context |
| 4. Clean up | Reduce steady noise gently, remove isolated sounds | Voices sound natural, not thin or metallic |
| 5. Level voices | Match track gains, apply light compression | All speakers sound similar in volume |
| 6. Add music | Place intro, outro, and transitions | Music sits under speech and fades smoothly |
| 7. Final listen | Play the whole episode at normal speed | No clicks, gaps, volume jumps, or missing words |
| 8. Export and check | Export, listen to the file, check metadata | File plays correctly, title and episode number are right |
The final listen is not optional: it catches a cut that removed half a word, a transition that starts too early, or a section where the volume suddenly changes. Listen on headphones, and if possible, once more on a phone speaker. Export as MP3 at a standard bitrate for most podcast hosts, with the episode title, show name, and episode number as metadata. Save the project file as well as the export.
How can AI tools help, and what mistakes should you avoid?
AI-assisted editing can save beginners significant time. Some tools transcribe the recording and let you edit by deleting words from the text, which automatically cuts the matching audio. Others detect long silences and filler words and suggest cuts. The limitation is judgement: an automated tool does not know whether a pause is an awkward silence or a deliberate beat. Treat AI suggestions as a starting point and review every suggested cut. Our guide to AI audio editing workflows explains where human review still matters most.
The most common beginner mistake is over-editing: removing every pause, filler, and breath, which makes the result sound tense and unnatural. Another is editing without a backup, so a wrong cut cannot be recovered. A third is ignoring the room — if every episode needs heavy noise reduction, the problem is usually the recording environment. The same thinking applies to live recording: a good professional audio setup for events matters because it prevents problems that editing cannot fully fix.
Frequently asked questions
How long does it take to edit a podcast episode?
It depends on the length of the recording, the number of speakers, and how clean the recording is. Editing usually takes roughly two to three times the length of the finished episode for a beginner, so a thirty-minute episode might take ninety minutes at first.
Do I need expensive software to edit a podcast?
No. Free editors such as Audacity and GarageBand cover cutting, fading, noise reduction, and exporting. Paid editors add convenience, but the quality of the recording and the care of the edit matter far more.
Should I remove every “um” and pause from my podcast?
No. Removing every filler word and pause makes speech sound unnatural. Remove fillers only when they cluster together or mark a false start, and leave isolated fillers and normal breathing in place.
What is the best file format for exporting a podcast episode?
For most podcast hosts, MP3 is the standard export format because it is widely supported and keeps file sizes manageable. Check your host’s guidance for its preferred bitrate, and fill in the episode metadata before you upload.
How do I edit a podcast with two or more speakers?
Record each speaker on a separate track when you can, so you can adjust their volume independently. Align the tracks at the start, make structural cuts across all tracks together, and then level each voice separately.
How do I know when my edit is good enough to publish?
Do a final listen at normal speed on headphones and check for clicks, missing words, and sudden volume changes. If the episode is clear, consistent in volume, and free of obvious errors, it is ready.
Conclusion
Podcast editing for beginners comes down to a simple, repeatable process: prepare your files, cut what distracts, clean up noise gently, level the voices, add music with restraint, and listen to the finished episode before you publish it. Start with this workflow for your next three episodes. By the third, you will know which steps take longest and where your recordings need the most work.