How to master a song at home: a beginner’s guide
Quick answer: Learning how to master a song at home means taking a finished mix and preparing it for release: balancing the overall tone, controlling loudness, adding gentle polish, and exporting it in the right formats. You do not need expensive hardware to start — a quiet room, headphones or speakers you trust, a loudness meter, and a patient, step-by-step workflow will get you a clean, competitive-sounding master.
What is mastering, and how is it different from mixing?
Mastering is the final stage of music production. Mixing balances individual tracks — vocals, drums, bass, guitars, synths — against each other inside a song. Mastering works on the finished stereo mix as a whole. It does not fix a bad mix, replace missing instruments, or rescue a buried vocal. It polishes what is already there, makes the song translate well on headphones, car speakers, laptop speakers, and streaming services, and prepares the file for distribution.
Think of mixing as cooking and mastering as plating: if the ingredients are wrong, no plating will fix the flavour. The first skill in how to master a song at home is knowing where mixing ends and mastering begins. If a problem affects only one instrument, such as a snare that is too loud in the chorus, go back to the mix. If it affects the whole song, such as an overall dull tone or bass that feels heavy on every speaker, that is a mastering problem. Mastering also brings consistency: songs on an EP or album should feel like they belong together, with no track much louder, brighter, or bassier than the next.
What do you need to master a song at home?
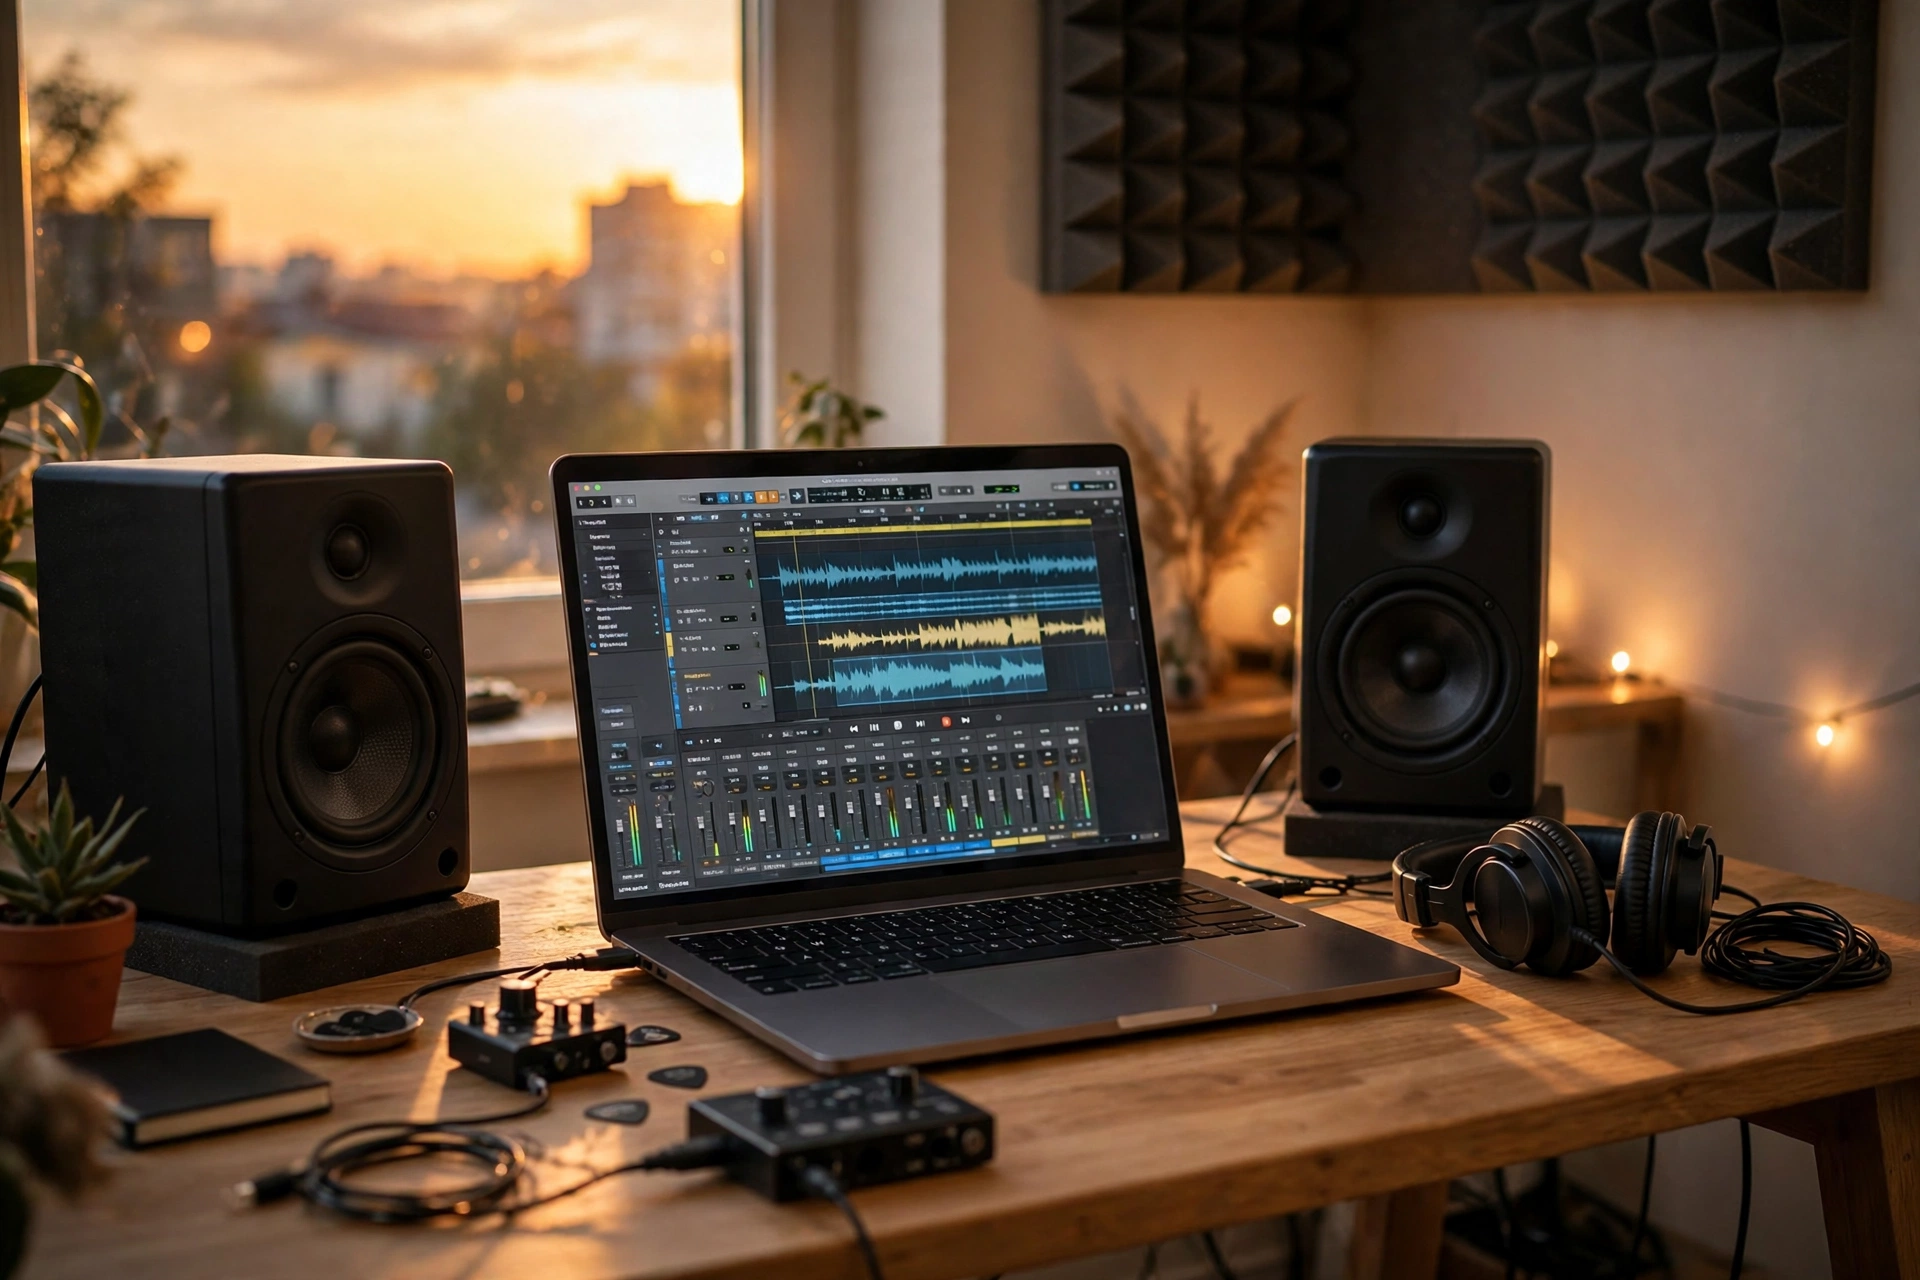
You need less gear than most beginners expect. Start with a computer and a digital audio workstation (DAW) you already know, since learning a new DAW while learning mastering only slows you down. Add headphones or speakers you trust. They need not be the most expensive option, but you should know how they sound — listen to well-produced songs you like on them, so you have a reference for what “good” sounds like in your room. If you want to build your understanding of frequency balance, room behaviour, and signal flow, the Sound Engineering Fundamentals course is a useful place to start.
A loudness meter is essential. Your ears adapt quickly, and loudness tricks you into thinking louder is better. A meter showing integrated LUFS, true peak, and dynamic range gives you objective numbers to check against, and most modern DAWs include one. A spectrum analyser also helps in the low end, where small rooms can mislead you. Check your work on headphones, a phone speaker, and a car stereo: if the same problem shows up everywhere, it is real.
Before you begin, prepare the mix properly. Export it at the same sample rate and bit depth as your session, usually 24-bit WAV, with no limiter or loudness processing on the master bus. Leave headroom, with peaks around -6 dBFS to -3 dBFS. Make sure the mix is finished — no muted tracks you meant to unmute, no clipping, no forgotten fades — and save a copy of the unmastered mix, so you can always go back.
How do you set up a mastering session and use EQ?
Set up a clean, simple session. Import the stereo mix onto one track and put your mastering plugins on that track or the master bus. Work at the mix’s sample rate, avoid converting sample rates until the final export, and turn off any normalisation or automatic gain that could change the file unnoticed. Start by listening, not by adding plugins: play the mix from start to finish, take notes on where it feels dull, harsh, boomy, thin, or quiet, then listen to one or two reference tracks in a similar style at a matched volume. References calibrate your ears and your room; they are not there to copy.
Set your monitoring level to a comfortable, consistent volume and leave it there. Work at a moderate level, turn it up briefly to check the low end, and turn it down low to check whether the vocal and melody still carry when the track is quiet. Keep your plugin chain short and logical: EQ, compression, stereo width or saturation if needed, limiter, and metering. Each processor should have a clear job, and if bypassing it makes no useful difference, remove it.
Mastering EQ uses broad, gentle moves, usually 0.5 to 2 dB across a wide band, to shape overall tone — a little warmth, a little air, or a little less mud. A gentle high-pass filter around 25 to 35 Hz often cleans up rumble without thinning the bass, while a small, wide cut around 200 to 400 Hz can open up a muddy mix. A gentle lift above 10 kHz adds air, but too much makes cymbals and sibilance harsh; if the track sounds harsh, try a small cut around 2 to 5 kHz. Always compare with the EQ bypassed at matched volume, because EQ changes loudness and louder sounds better at first. If you are unsure, leave it out.
How do you use compression and control loudness?
Mastering compression is glue, not control. In mixing, a compressor might tame a vocal jumping by 10 dB. In mastering, it usually does 1 to 3 dB of gain reduction at most, gently holding the song together. If the needle moves a lot, you are compressing too hard and the song will feel flat. Use a slow attack and a medium release as a starting point: a slow attack lets the snap of a snare or guitar through, keeping punch, while a release that is too fast causes pumping and one that is too slow dulls the song. Set the threshold on the loudest section, usually the chorus, so the compressor engages gently there and less in the verses.
Watch the low end, since bass triggers compressors easily and heavy compression can make it feel smaller. Try a slower attack, a higher threshold, or a sidechain filter. Listen to the spaces between notes: in a good master, quiet moments still breathe; in an over-compressed one, everything feels the same volume. Dynamics are part of the music.
Stereo width needs care too. A little widening on upper frequencies can add space, but widening low frequencies makes bass less focused and causes problems on mono playback, so always check in mono. For a careful approach, see Tips to Give Your Mix the NUGEN Stereoizer Treatment. A touch of saturation can add warmth, but it is optional.
Loudness is where most home masters go wrong. Streaming services normalise playback volume, so a very loud master does not sound louder — it just sounds more squashed. Aim for around -14 LUFS integrated, with true peaks at or below -1 dBTP, as a reference rather than an exact rule. Use a limiter last, raise gain slowly, and if you need more than 3 to 4 dB of limiting on the loudest peaks, the mix may need more headroom. A limiter should feel invisible; if you can hear it, back off.
How do you export and check your master?
Export the master as a high-resolution file first, usually 24-bit WAV at the original sample rate. This is your master file: keep it safe and make all other formats from it. If you need a 16-bit version for CD, apply dither when reducing bit depth, only once, at the very end. If you need an MP3 or AAC for sharing, export it from the high-resolution master, not from an already-compressed file. Name files clearly — song title, version, and format, for example “song-title-master-24bit.wav” — and keep a folder per song with the original mix, the master, and alternates. Use a version number for revisions rather than overwriting the old file.
Check the master on several systems, at different volumes, with fresh ears. The next-day check is most useful: export, leave it overnight, and listen again the next morning. Problems missed when tired often become obvious after a break. Compare the master with the unmastered mix and your reference tracks at matched volume, and ask: is this clearly better, or just louder? Also check the start and end of the file for clicks, cut-off notes, or chopped reverb tails, and confirm file length, sample rate, and bit depth. Keeping your tools organised helps — the roundup of 5 Essential Audio Processing Tools Every Blogger Needs in 2026 is a useful checklist for a home mastering setup.
What are the most common mistakes when mastering at home?
The most common mistake is mastering too loud, pushing the limiter until the meter looks competitive while the song loses dynamics, punch, and clarity. The second is over-EQing: large boosts and cuts that sound impressive for thirty seconds and tiring after three minutes. The third is working too long without a break. Ear fatigue is real, and after an hour of loud listening your judgement is unreliable, so take breaks, work at moderate volume, and come back fresh.
Another mistake is mastering in the same session as mixing: you are too close to it to hear it objectively, so leave at least a day between the two if you can. Beginners also add too many plugins — start with EQ, compression, and a limiter, and add tools only when you can name the problem they solve. Presets are starting points, not answers. Newer AI-assisted tools can speed up parts of the workflow, and How AI Is Changing Audio Editing in 2026: Faster Workflows for Creators explains where automation helps and where judgement still matters. A repeatable routine also helps: follow the same order, log loudness and settings, and match levels across a release, as described in AI Music Production in 2026: How Creators Are Building Tracks Without Traditional Studios. If mastering becomes paid work, keep the business side organised too, as The Freelance Audio Engineer’s Guide to Writing Off Travel and Studio Visits reminds freelancers.
| Stage | Main tool | What to aim for |
|---|---|---|
| Preparation | Mix export, metering | Clean 24-bit WAV, peaks -6 to -3 dBFS, no master-bus processing |
| Tone | Broad EQ | Gentle 0.5–2 dB moves, matched-volume comparison, no harshness |
| Glue | Compressor | 1–3 dB gain reduction, slow attack, dynamics still audible |
| Loudness | Limiter | Around -14 LUFS integrated, true peak at or below -1 dBTP |
| Delivery | Export, dither | 24-bit WAV master first, other formats made from that file |
Frequently asked questions
Can I master a song at home with only headphones?
Yes, many beginners start that way. Use headphones you know well, listen to reference tracks on them, and check the master on speakers, a phone, and a car stereo. Headphones can exaggerate width and hide low-end problems, so those extra checks matter.
Do I need expensive mastering plugins?
No. The stock EQ, compressor, and limiter in most DAWs are enough to learn the process and produce a good master. Expensive plugins offer different colours, but they do not replace listening skill, a good mix, and careful level matching.
How loud should my master be for streaming?
A common reference is around -14 LUFS integrated, with true peaks at or below -1 dBTP. Streaming services normalise loudness, so pushing beyond that usually reduces dynamics without making the song sound louder.
Should I master my own mix?
You can, but leave time between mixing and mastering so you can hear the song with fresh ears. Mastering immediately after mixing risks missed problems and over-processing. For important releases, a second pair of ears is a useful final check.
What is the difference between a master and a mix?
A mix balances individual tracks inside a song. A master polishes the finished stereo mix as a whole: overall tone, loudness, consistency across a release, and file preparation for distribution. Mastering cannot fix mix problems such as a buried vocal or a clashing bass part — those need to be fixed in the mix.
How long does it take to master a song at home?
A first master often takes one to two hours, including listening and checking on other systems. With practice, a straightforward song may take 30 to 45 minutes, plus a next-day check. A fresh listen often catches more than another hour of tweaking.
Conclusion
Learning how to master a song at home is a practical skill. Start with a finished, well-prepared mix, listen carefully before you touch a plugin, and work in small, deliberate steps: gentle EQ for tone, light compression for glue, and a limiter used sparingly for loudness. Check your work against reference tracks, on multiple playback systems, and with fresh ears the next day. Keep your chain short, keep your notes, and resist the urge to push everything louder or brighter than the song needs. A good home master does not shout about its processing — it lets the song sound clear, balanced, and finished, wherever it is played.