How to set audio levels and avoid clipping
Quick answer: To set audio levels correctly, speak or play at your normal volume, raise the input gain until your loudest peaks sit around -12 dB to -6 dB, and keep the meter out of the red. Leave headroom for unexpected loud moments, check the level with headphones, and record a short test before you begin.
Learning how to set audio levels is one of the most useful skills in recording, podcasting, streaming, and video production. It does not need expensive equipment or advanced theory. It needs a clear method, a reliable meter, and the discipline to test before you press record. When levels are set well, voices sound natural, music keeps its punch, and quiet details remain audible. When they are set badly, the result is either distorted and harsh, or so quiet that raising the volume later brings up hiss and room noise.
Clipping happens when a signal is louder than a system can handle. In digital audio, the loudest possible value is 0 dBFS, and anything above that is cut off. The top of the waveform is flattened, the sound becomes distorted, and the lost detail cannot be recovered by turning the volume down afterwards. That is why prevention matters more than repair. A clipped word, a distorted laugh, or a loud drum hit can spoil an otherwise good take, and re-recording is often the only real fix. This guide gives you a repeatable routine for microphones, instruments, video cameras, and live streaming, and explains the mistakes that cause clipping even when the meter looks safe.
What does it mean to set audio levels correctly?
Setting audio levels correctly means choosing a recording volume that is loud enough to capture detail clearly, but quiet enough to leave room for peaks. It is a balance, not a race to the top of the meter. A healthy recording has a strong signal, a low noise floor, and enough headroom to handle sudden changes in volume without distortion.
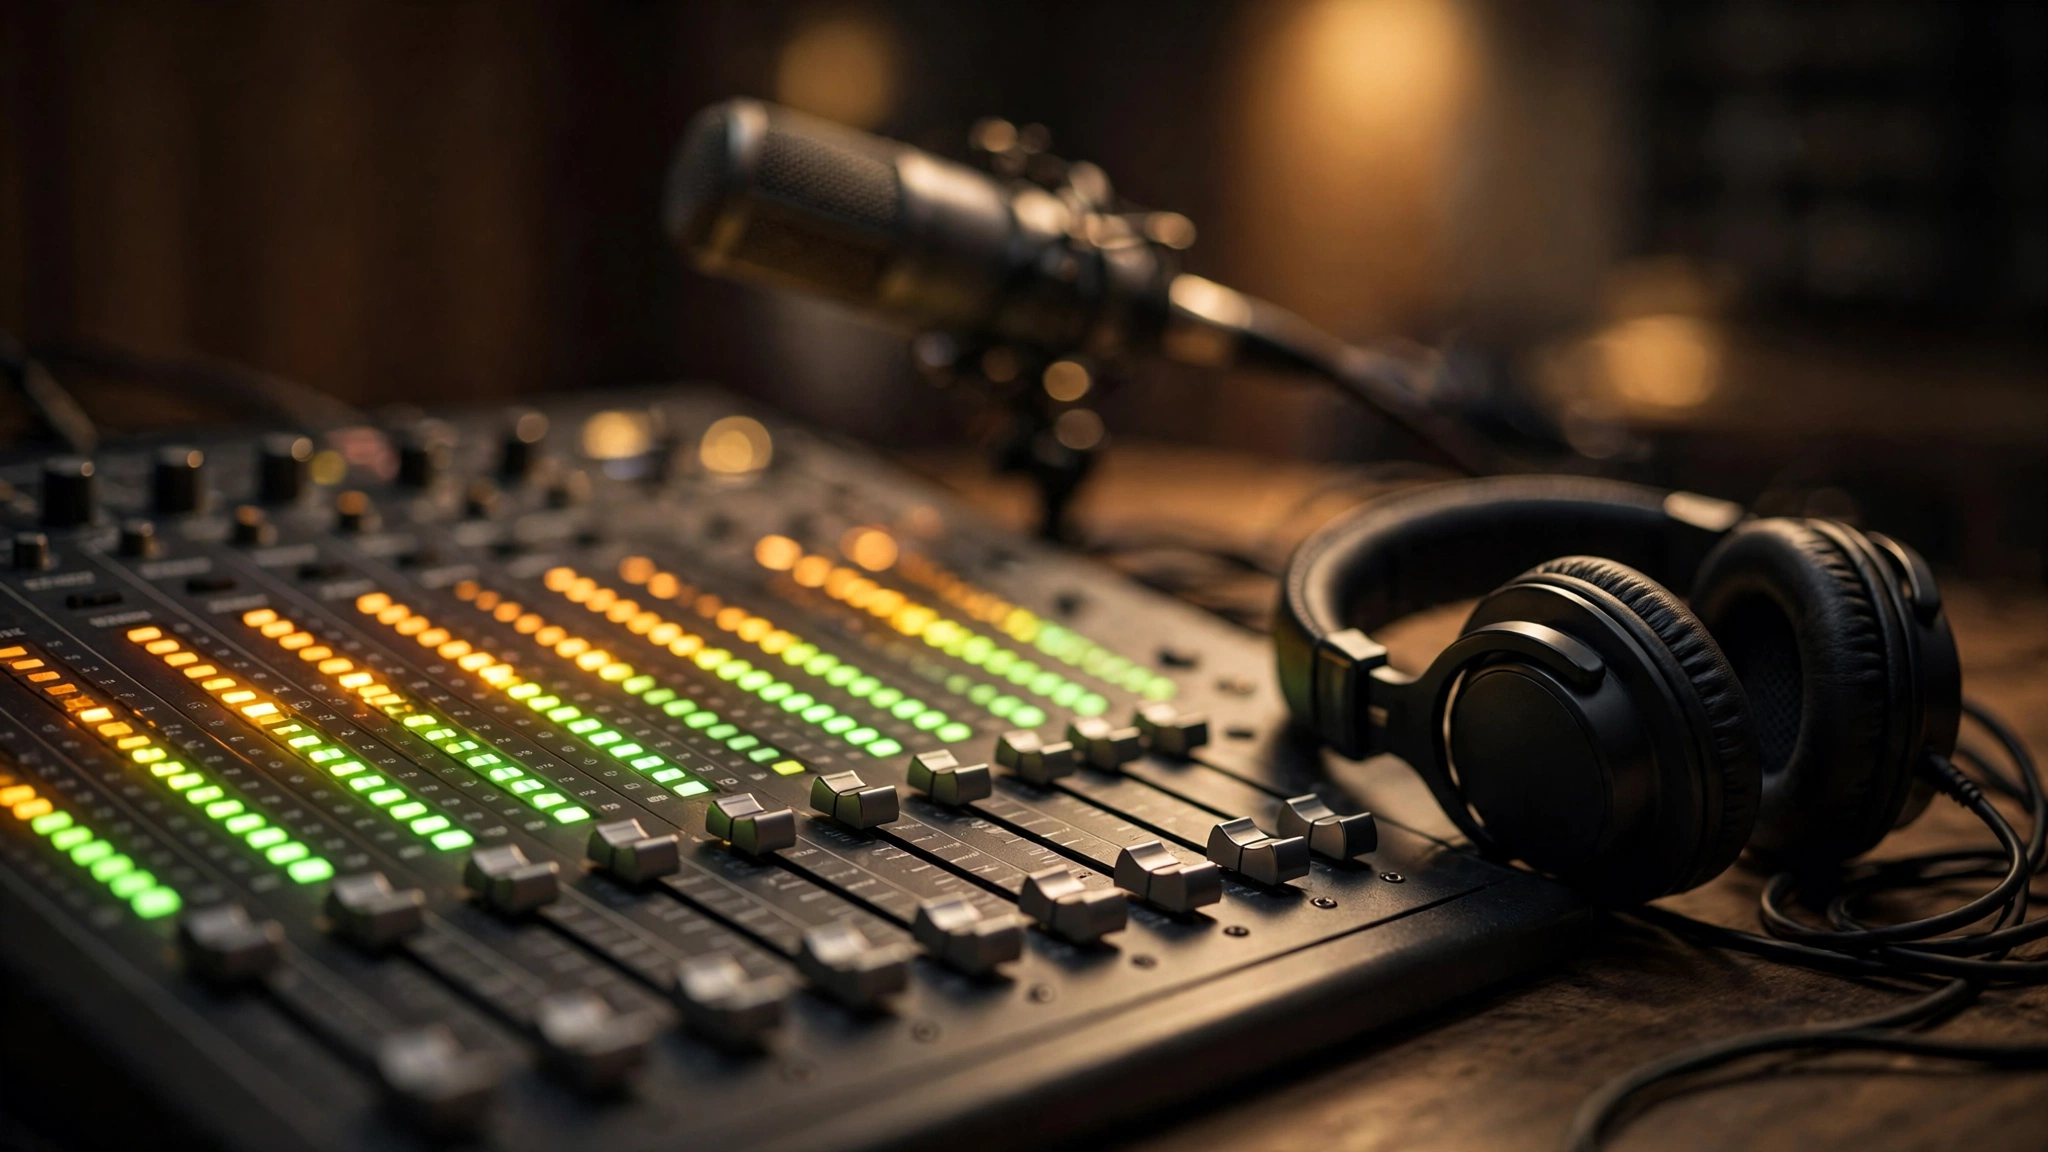
Most digital audio workstations, recorders, and camera screens show a level meter with green, yellow, and red zones. Green is safe, yellow is a warning that you are getting loud, and red means you are at or near clipping. A good target is to keep normal speech or playing in the green and yellow, with occasional peaks reaching into the upper yellow, but never staying in the red.
For spoken voice, many engineers aim for average levels around -18 dB to -12 dB, with peaks between -12 dB and -6 dB. For music, peaks may be a little higher, but the same principle applies: leave at least 6 dB of headroom. That headroom is your safety margin. It protects you when a guest laughs, a singer belts a chorus, or a door slams in the background.
It is also important to understand that loudness and level are related but not identical. Good level setting starts with a good source, a sensible microphone position, and a quiet environment. Gain should amplify a good signal, not rescue a weak one.
How do you set input gain on a microphone?
Input gain controls how much your microphone signal is amplified before it is recorded. It is the first and most important level control in the chain. If input gain is too low, the recording will be quiet and noisy. If it is too high, the recording will clip. Getting this one control right solves most level problems before they start.
Start by placing the microphone at a sensible distance. For a podcast or voice recording, that is usually about 15 to 25 centimetres from the mouth, slightly off-axis if plosives are a problem. For singing, the distance may be a little greater. For an acoustic instrument, the distance depends on the instrument and the room, but the principle is the same: find a position where the sound is clear and balanced, then set the gain for that position. Do not set gain first and then move the microphone, because the level will change.
Next, turn the gain down and ask the speaker or performer to deliver at their normal, real-world volume. This is essential. A whispered test or a polite soundcheck will lead to a gain setting that is far too high for the real performance. Ask for the loudest part of the material if possible: the most energetic sentence, the chorus, or the loudest chord. While they perform, slowly raise the gain until the peaks sit in your target range, around -12 dB to -6 dB.
Watch the meter, but also listen. A meter tells you the volume, but your ears tell you whether the sound is clean and natural. Use closed-back headphones for this check so room sound does not mislead you. If you hear distortion or a brittle edge on loud sounds, turn the gain down even if the meter has not hit red. Some microphones, preamps, and interfaces distort before the digital meter shows clipping.
Once the gain is set, record a short test of 20 to 30 seconds, play it back, and listen carefully. Check for clipping, background noise, and consistency. If the test sounds clean and the peaks are in range, you are ready. For a deeper grounding in the ideas behind this process, the guide to sound engineering fundamentals explains signal flow, gain, and monitoring in a structured way.
What levels should you use for podcasts, video, and music?
Different kinds of recording have different targets, but the rule is the same: record with headroom, then bring the final loudness to the right level during mixing. Do not try to make the raw recording as loud as a finished release. For podcasts and spoken voice, record with peaks between -12 dB and -6 dB and average levels around -18 dB to -12 dB. This gives a clear voice with room for laughter and guest variation. If you are starting a podcast, building this routine into your first episodes will save a lot of editing time later.
For video, use the same recording targets, but also think about the camera. Many cameras have automatic gain control that can cause pumping, where background noise rises and falls as the camera tries to keep the level constant. If possible, set the camera audio to manual, test at performance volume, and monitor with headphones. If you record audio separately, use the camera audio as a backup and sync in the edit. For music, record each instrument with headroom, then balance the mix at a moderate level. The mix bus should peak below 0 dBFS, ideally with a few decibels left for mastering. For live streaming, set levels conservatively, with peaks around -12 dB to -6 dB, because a clipped stream sounds harsh on phones and laptops.
| Recording situation | Average level target | Peak level target | Headroom to leave |
|---|---|---|---|
| Podcast or spoken voice | -18 dB to -12 dB | -12 dB to -6 dB | At least 6 dB |
| Video dialogue | -18 dB to -12 dB | -12 dB to -6 dB | At least 6 dB |
| Solo instrument | -18 dB to -12 dB | -12 dB to -6 dB | At least 6 dB |
| Full music mix | Moderate, balanced | Below -3 dB on the mix bus | At least 3 dB |
| Live stream | -18 dB to -12 dB | -12 dB to -6 dB | At least 6 dB |
How should you monitor levels and fix them in the mix?
Monitoring needs both a meter and your ears. The meter shows peaks and trends. Your ears tell you whether the sound is clean and natural. Use closed-back headphones when you set levels, at a comfortable volume, so room sound does not mislead you. Check the meter during loud passages, after a change in speaker or instrument, and at the start of each new section. If a clip light comes on, stop, turn the gain down a little, and re-record the affected section. One clipped word can be distracting, and several can make a whole recording sound unprofessional.
In the mix, start with the most important sound, usually the voice or lead instrument, and set its level first. Then bring in the other elements one by one. If the mix starts to get loud, turn everything down together rather than turning one track up to compete. A mix peaking around -6 dB to -3 dB on the master bus is a healthy starting point. Use clip gain or volume automation for uneven performances before heavy compression, so the compressor does not have to work as hard. Watch plugin output levels too, because an equaliser boost or makeup gain can add level, and keep each stage in its comfortable middle range rather than fixing a quiet signal with a huge boost at the end. When you are ready to shape the sound further, essential audio processing tools can help you understand which tools affect level and which do not. Effects that widen the stereo image can also change peak level, so check the meter after you add them; the guide on mixing and stereo width explains how width processing interacts with level and balance. Leave headroom for the final stage, and always check the exported file. Modern tools, including AI audio editing workflows, can help with routine level balancing, but they work best when the source recording already has sensible, consistent levels. Good choosing audio gear for your work decisions also help: the right microphone and interface make clean levels easier to achieve, but no gear can fully compensate for a noisy room or a microphone placed too far from the source.
Frequently asked questions
What is a good audio level for recording voice?
A good target for spoken voice is average levels around -18 dB to -12 dB, with peaks between -12 dB and -6 dB. This keeps the voice clear and gives you at least 6 dB of headroom for louder moments. Test at your normal speaking volume and adjust the gain in small steps until the loudest parts sit in that range without touching 0 dBFS.
How do I know if my audio is clipping?
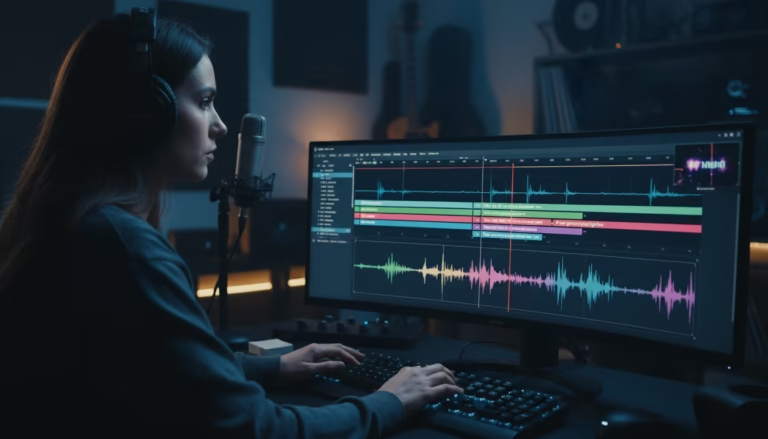
You will usually hear clipping as harsh distortion, crackling, or a brittle edge on loud sounds. Visually, the meter will hit the red zone or 0 dBFS, a clip light will stay on, or the waveform will look flat-topped at its peaks. If you hear distortion or see the meter in the red, turn the gain down and re-record the affected part.
Can clipped audio be fixed?
Clipped audio can sometimes be improved with repair tools, but the lost detail cannot be fully restored. A repair tool may soften the distortion or reconstruct part of the waveform, but the result is rarely as clean as a properly recorded take. Prevention is far more reliable than repair.
Should I record as loud as possible?
No. Recording as loud as possible increases the risk of clipping and leaves no room for mixing or processing. A recording that peaks around -12 dB to -6 dB is loud enough to capture detail clearly and quiet enough to stay safe. You can raise the loudness later during mixing and mastering.
What is the difference between gain and volume?
Gain controls the input level of a signal before it is recorded or processed, while volume usually controls the output or monitoring level after the signal has been recorded. Turning up the monitoring volume makes it sound louder to you, but it does not change the recorded level. Turning up the gain does change the recorded level.
Why is my recording too quiet even when the gain is high?
A recording can be quiet with high gain if the microphone is too far from the source, the source itself is very quiet, or a later stage in the chain is turned down. Check microphone distance first, then check each stage, including the track fader, the interface output, and the software input. Also check for a pad switch that may be engaged.
Conclusion
Knowing how to set audio levels is a practical skill that improves every recording you make. Set the input gain with a real performance test, aim for peaks between -12 dB and -6 dB, and leave at least 6 dB of headroom. Check the level at every stage, monitor with headphones and a meter, and keep the mix bus below clipping. Fix uneven performances with clip gain before heavy compression, watch plugin output levels, and always check the exported file. That habit gives you cleaner podcasts, clearer video dialogue, and music that keeps its dynamics.