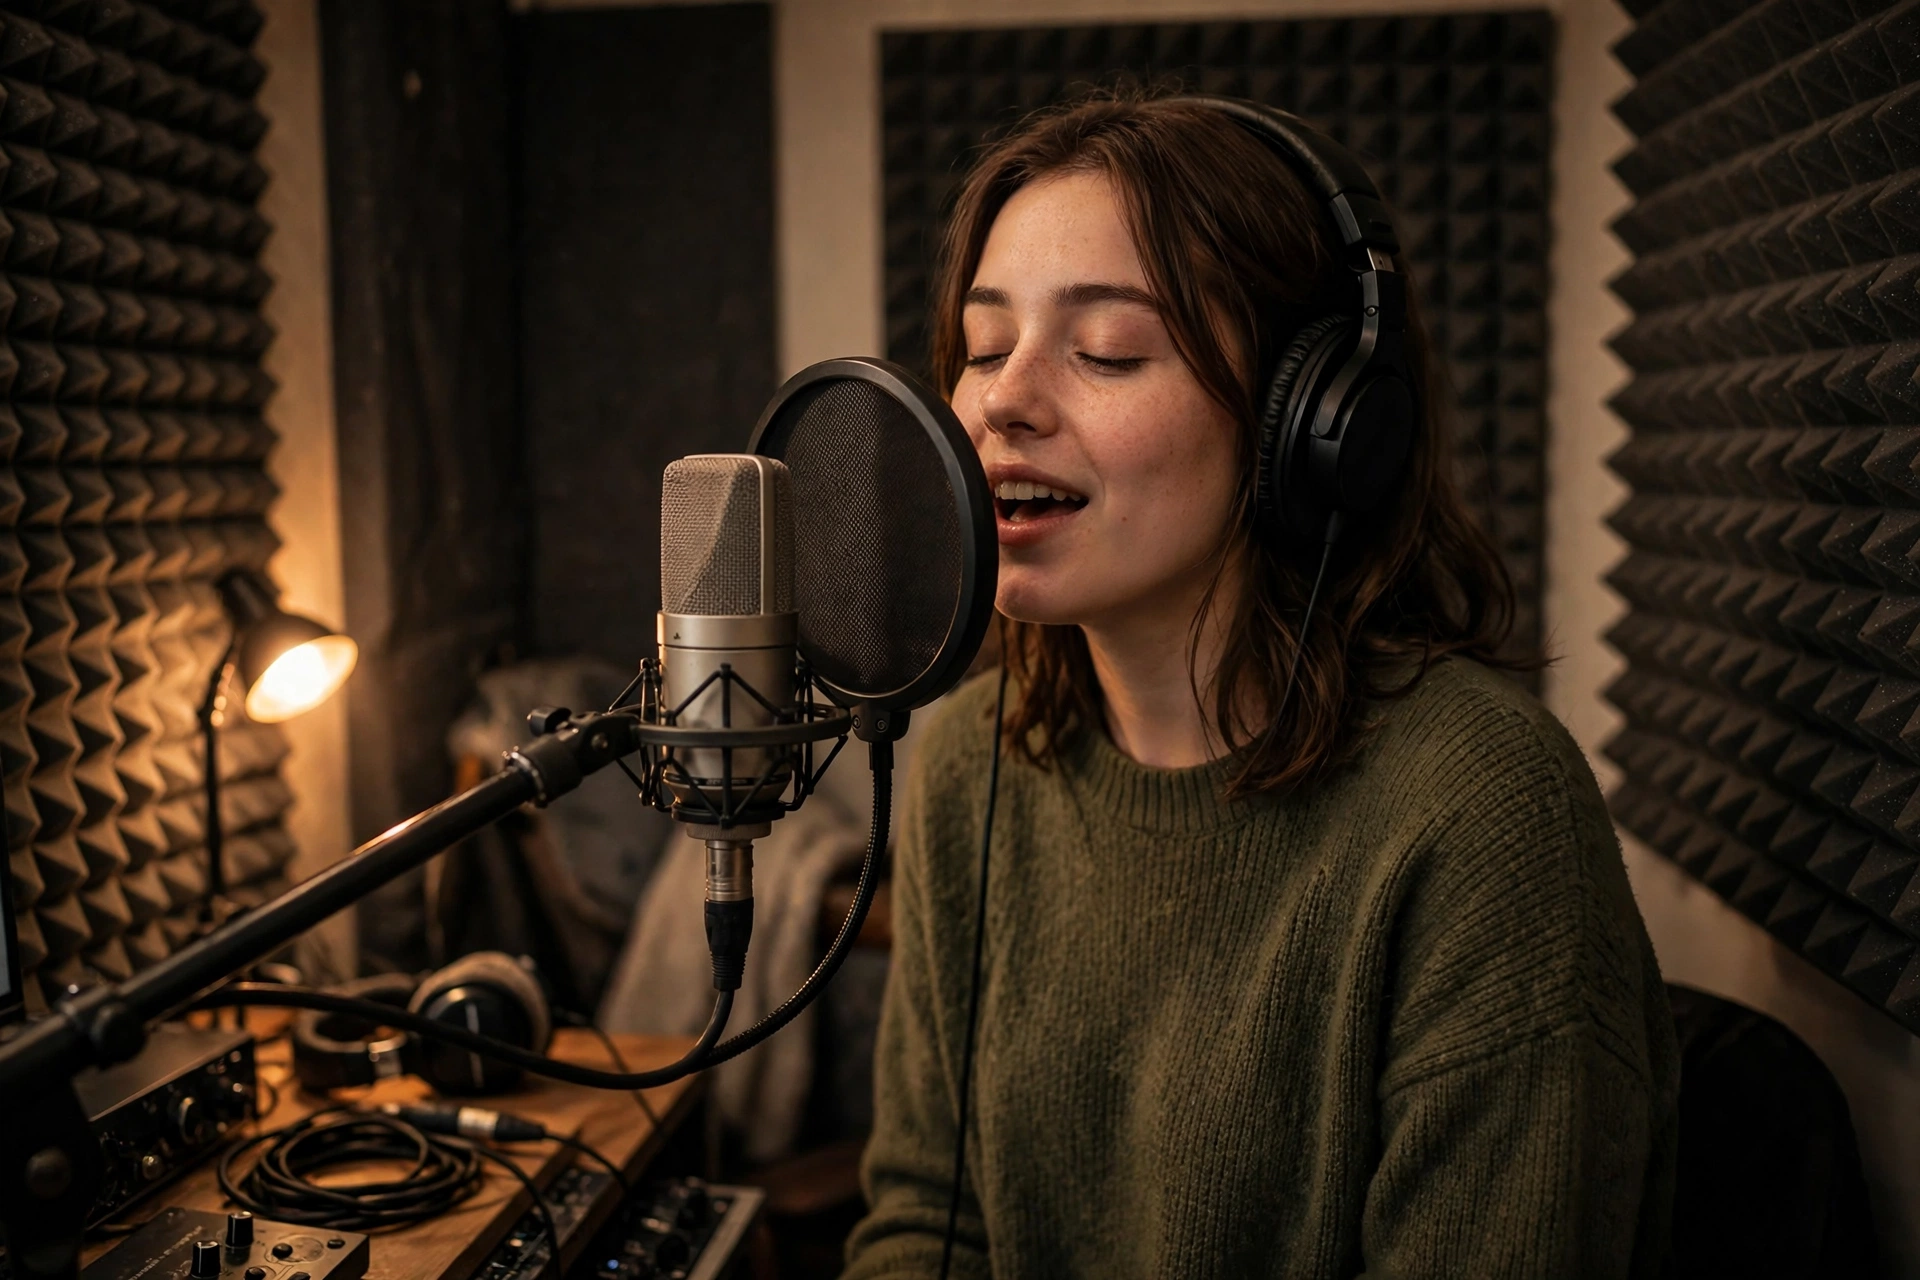
How to record vocals at home: clean vocals on a budget
Quick answer: To learn how to record vocals at home, set up a quiet, soft-furnished space, choose a microphone that suits your voice and room, place it correctly with a pop filter, set levels so peaks stay around -12 to -6 dBFS, and record several takes to comp the best parts. Clean vocals come more from the room, the distance, and the gain setting than from expensive gear, so get those basics right before buying anything else.
What makes a vocal recording sound clean?
A clean vocal recording sounds clear, present, and free of distractions: no room echo, no background hum, no pops, no clipping, and no harsh sibilance. The listener should hear the voice first, not the room it was recorded in. That clarity starts before you press record. A good performance, a quiet space, and a sensible microphone position matter far more than a plugin chain added afterwards, because processing can polish a clean take but cannot remove echo, noise, or distortion that is baked into the recording.
Three things decide most of the result: the room, the microphone distance, and the level. A reflective room adds echo and a boxy tone that makes vocals sound distant and amateur. A microphone placed too far away captures more room than voice, while one placed too close exaggerates bass and breath noise. A level set too high clips on loud notes, and a level set too low brings up hiss when you turn it up later. When you understand how to record vocals at home, you are really learning to control those three variables, take by take, until the raw recording already sounds close to finished before any mixing begins.
How do you set up a home recording space?
Choose the quietest room you have, away from traffic, appliances, and shared walls if possible. A small bedroom with a bed, curtains, wardrobe, and carpet usually works better than a large empty living room, because soft furnishings absorb reflections that would otherwise bounce around the microphone. Close windows and doors, switch off fans, air conditioning, and refrigerators if you can, and record at a quiet time of day. Listen to the room with headphones on and the microphone armed, without singing: if you hear a hum, a fridge, or street noise, fix it before you record, because it will be in every take.
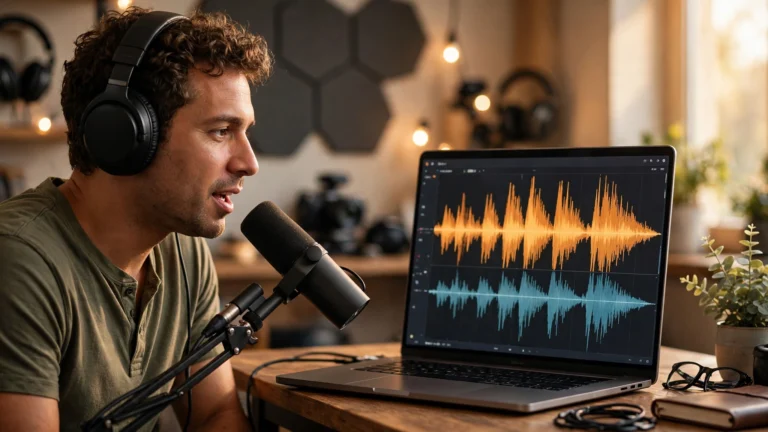
You do not need a purpose-built vocal booth to start. Record facing into the room, with soft material behind you and behind the microphone, so reflections are absorbed on both sides. A heavy duvet hung on a clothes rail, a wardrobe full of clothes with the doors open, or a corner filled with cushions and blankets can all work as a simple absorber. Avoid recording in the centre of a bare room, in a bathroom, or in a kitchen, where hard surfaces create echo. A closet can work if it is large enough to stand comfortably and does not sound boxy, but test it first: clap once and listen for a fluttery, metallic ring, which is a sign the space is too reflective. For a fuller grounding in how rooms, reflections, and signal flow affect a recording, the Sound Engineering Fundamentals course covers the basics in plain terms.
What microphone and gear do you need on a budget?
For most home singers, a large-diaphragm condenser microphone is a good starting point: it is sensitive, detailed, and well suited to vocals, acoustic instruments, and voiceover. It also picks up more room noise than a dynamic microphone, so it works best in the quiet, soft space described above. A dynamic microphone, such as the kind used on stage, is less sensitive, rejects more background noise, and can suit loud singers, untreated rooms, and rap or rock vocals. A USB microphone is the simplest option — it plugs straight into a computer with no interface — but it offers less flexibility for upgrading, monitoring, and adding a second microphone later.
You also need an audio interface if you use an XLR microphone, plus closed-back headphones, a microphone stand, a pop filter, and an XLR cable. Closed-back headphones matter because open-back headphones leak sound into the microphone, which then appears in the vocal take. A pop filter sits between you and the microphone and softens the bursts of air from “p” and “b” sounds, which otherwise cause low thumps. Buy the microphone last, after the room and headphones are sorted: a good microphone in a bad room still sounds like a bad room, while a modest microphone in a treated, quiet space can sound surprisingly professional. The same setup logic applies to spoken-word recording, and the guide on How to Start a Podcast in 2026: A Step-by-Step Guide for Complete Beginners walks through microphone, interface, and headphone choices for beginners.
How do you place the microphone and set your levels?
Place the microphone at mouth height, on a stand, with a pop filter about a hand’s width in front of it. Stand or sit about 15 to 20 centimetres — roughly a fist and a thumb — from the pop filter, and sing slightly across the microphone rather than directly into it if sibilance is a problem. Keep your head steady: moving closer and further away changes the volume and tone of every phrase, and the listener hears that movement. If you are recording a loud chorus, step back a little; if you are recording a quiet verse, step in a little, rather than changing the gain mid-take.
Set the gain on your interface so your loudest notes peak around -12 to -6 dBFS, with average levels well below clipping. Sing the loudest part of the song while you set the level, not the quietest, and leave headroom for a performance that is louder than rehearsal. Record at 24-bit if your interface supports it, because 24-bit gives you more headroom and a lower noise floor than 16-bit. Turn off any automatic gain, compression, or enhancement on the interface or in the operating system, so the recording is clean and unprocessed. Monitor through headphones, not speakers, and if you need a backing track, route it only to the headphones so it does not bleed into the vocal microphone. For browser-based recording, permissions and latency can also affect a take, and the guide on Web Audio Apps: How to Test Recording Permissions and Latency Across Browsers explains how to check those settings before you start.
How do you record a good take?
Warm up first. Sing scales, hum, and run through the song once without recording, so your voice is ready and you know where the difficult notes fall. Drink water, keep the lyrics where you can read them without rustling paper near the microphone, and decide the arrangement before you record: which lines are lead vocal, which are harmonies, and where the backing vocals sit. A clear plan means fewer takes, less editing, and a more confident performance.
Record several full takes, not just one line at a time. Three to five complete takes give you enough material to comp — to choose the best line from each take and combine them into one strong performance — without losing the flow of the song. If a line is wrong, keep going and punch in later, rather than stopping and starting every few seconds, which breaks the feel of the performance. Between takes, listen back on headphones and note what needs to change: pitch, timing, breath, or energy. Do not fix a performance problem with a plugin while you are still recording; record it again, because a better take always sounds more natural than a heavily corrected one. Regular writing and singing practice also makes recording easier, and Songwriting as a Daily Discipline describes how a steady creative routine builds the consistency that shows up in the microphone.
How do you edit and mix home-recorded vocals?
Start by comping: listen to your takes, choose the best phrase from each, and join them into a single track, checking that the joins are clean and the timing and tone match. Remove obvious problems first — long silences, clicks, coughs, and loud breaths between phrases — but leave natural breaths that help the vocal feel human. Use a fade on every edit, even a short one, to avoid clicks at the cut point. If you need pitch or timing fixes, use them sparingly and on a copy of the track, so you can always go back to the original.
Then shape the vocal with EQ, compression, and space, in small steps. Cut rumble below 80 to 100 Hz, reduce muddiness with a small cut around 200 to 400 Hz if needed, and add a gentle lift only if the vocal sounds dull. Use compression lightly — 2 to 4 dB on the loudest parts — and add reverb or delay on a separate send, so you control the space without washing out the words. Compare with processing bypassed at matched volume: if it does not sound clearly better, remove it. The roundup of 5 Essential Audio Processing Tools Every Blogger Needs in 2026 lists useful home vocal utilities, and How AI Is Changing Audio Editing in 2026: Faster Workflows for Creators explains where automation helps and where your ears still decide.
What mistakes ruin home vocal recordings?
The most common mistake is recording in a noisy, reflective room and hoping a plugin will fix it. It will not: echo and background noise are part of the recording, and removing them afterwards usually damages the voice as well. The second mistake is setting the gain too high, so loud notes clip and cannot be repaired. The third is standing too far from the microphone, which captures more room than voice, or too close, which exaggerates bass, pops, and breath noise. Check your distance and gain before every session, not just the first one.
Other mistakes are also common: recording with speakers lets the backing track bleed into the vocal, recording only one take leaves nothing to comp from, and over-processing — heavy pitch correction, compression, and reverb — sounds artificial and tiring. Skipping the next-day listen means missing problems obvious with fresh ears. A calm routine — quiet room, correct distance, safe levels, several takes, light mixing — improves vocals more than any new gear.
| Microphone type | Best for | Watch out for |
|---|---|---|
| Large-diaphragm condenser | Detailed studio vocals, voiceover | Picks up room noise, needs phantom power |
| Dynamic | Loud singers, untreated rooms, rap and rock | Less detail, needs more gain |
| USB microphone | Simple setup, beginners, podcasts | Less flexibility, harder to upgrade |
Frequently asked questions
Can I record good vocals at home without a studio?
Yes. A quiet, soft-furnished room, a suitable microphone, closed-back headphones, and careful levels will give you a clean take that can sound professional after light mixing. Room and performance matter more than microphone price, so fix those first.
Do I need a condenser microphone for vocals?
Not always, but it is a good starting point for most singers because it is sensitive and detailed. A dynamic microphone can be better in a noisy room or for loud styles. Choose the microphone that suits your voice, room, and style, rather than the highest-priced one.
How far should I stand from the microphone?
About 15 to 20 centimetres from the pop filter is a good starting point. Step back for loud choruses and in for quiet verses, rather than changing gain mid-take. If the vocal sounds boomy, move back; if distant or thin, move closer.
Why do my vocals sound echoey at home?
Echo usually comes from a reflective room: bare walls and hard floors bounce sound back into the microphone. Add soft furnishings, record facing into the room with absorption behind you, and move closer so the voice is louder than the room.
How loud should my vocal recording level be?
Aim for peaks around -12 to -6 dBFS on your loudest notes, well below clipping. Record at 24-bit if you can, and set the level using the loudest part of the song. Leave headroom, because a performance is often louder than rehearsal.
Should I use reverb while recording vocals?
Record dry, with no reverb printed on the vocal track, and add reverb later during mixing. You can use a little reverb in the headphones while you sing if it helps, as long as it is only in the monitor mix, not on the vocal track.
Conclusion
Learning how to record vocals at home comes down to a few habits done well: choose a quiet, soft room, place the microphone correctly, set safe levels, record several takes, and mix lightly. You do not need a studio or expensive gear — you need a space that does not fight the microphone, a practised performance, and the patience to listen back with fresh ears. Get the raw take right and keep processing gentle.